Microsoft Outlook is an all essential email agent with its vast features and functionalities. When you are using Microsoft Office and Microsoft Dynamics NAV as your ERP system, it’s highly logical that you would like to connect Dynamics NAV & Outlook. So, in this blog we will cover how can you get seamless integration between Dynamics NAV 2017 with Outlook.
You should also check out how you can Integrate Microsoft Dynamics NAV with your other REST applications like Solve 360.
Outlook has Add-In for Microsoft Dynamics NAV through which it can be connected. Let’s see the process in detail of how to set up this Add-In in Outlook.
What you need
Before starting the set-up process, let’s see what you need as prerequisite:
NAV Server Configuration:
- NAV User Password Authentication
- Access Control Service Authentication
- Azure Active Directory
Outlook Version Support
- Outlook 2013 or above
- Outlook Web App
- OWA for iPhone, iPad and Android
Supported Browsers and Exchange Servers
- Exchange Online
- Internet Explorer 11
- Microsoft Edge
- Google Chrome 53.0 for Windows
- Firefox 49.0 for Windows
- Safari 9.0 or 10.0 on OSX
Other Software
Microsoft Office 2010 SP2, 2013 SP1 or 2016
How to set it up
Step 1 – Open Dynamics NAV Application, search for Assisted Set Up Page

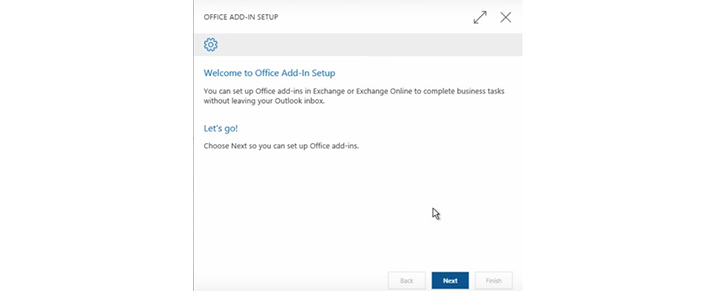
Step 2 – Click on Set Up Outlook for Financials option, the set-up Wizard will start
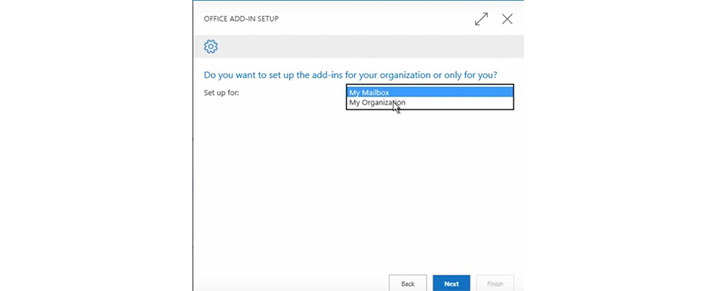
Step 3 – You can set up the Add-In for your own Mailbox or for the organization, choose according to your need.
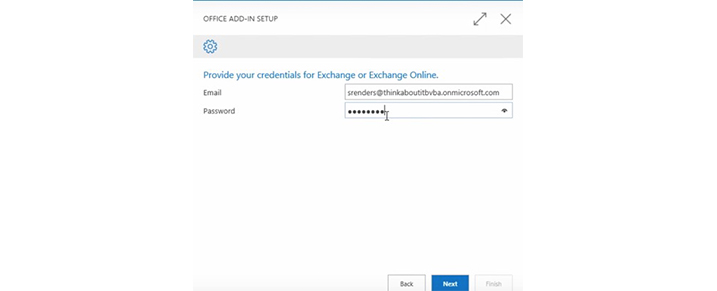
Step 4- Within the Wizard, enter your Exchange Username and Password and click on next button.
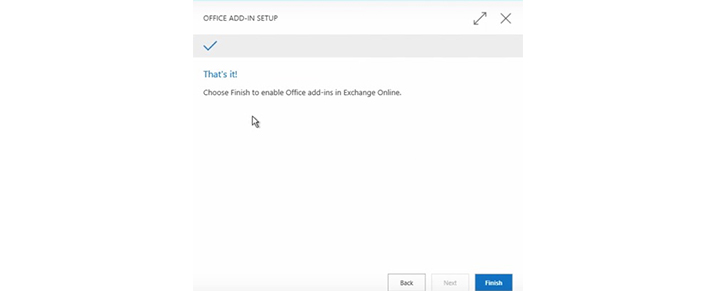
Step 5- The Exchange Credentials will be authenticated and if successful, then wizard will show the successful message to finish the process.
How to use it
After the set-up process is complete, let’s now see how you can use it.
Step 1 – Open your Outlook and go to settings, click on Manage Integrations where you can see the installed Add-Ins for Outlook.

Step 2 – In the Manage Integrations, click on My Add-Ins and you will see Dynamics NAV and Document Link Add-Ins installed in Outlook.

Step 3- You can start New Email, enter new contact from outlook and click on Dynamics NAV Add-On to get option for Contact Insights, where you will get full organization/contact details from ERP.

Step 4- Also you have the option to create new Quote/Order/Invoice against this contact all from Outlook Add-In.

So, in this article we have described simple steps using which you can connect Dynamics NAV Add-In in Outlook for NAV 2017.
APPSeCONNECT is a smart integration platform which helps connects your business apps. Increase your productivity and efficiency by connecting your Ecommerce store/Marketplace/CRM with Microsoft Dynamics NAV ERP.
You may also like:
Microsoft Dynamics NAV Magento Integration
Integrate your Outlook Emails with Zoho CRM via BCC Dropbox
Learn how to connect Outlook to Zoho CRM


