


OroCommerce is the new eCommerce platform that everyone is going crazy for. With its brand-new looks and features, OroCommerce claims to change the world of B2B eCommerce. With a continuous rise and flourish of the B2B eCommerce globally, it was evident that more advanced B2B applications and platform would surface up sooner or later. In this article, we will be looking at the general steps of installing OroCommerce 1.6 on a local development machine.
Before we start with the installation, there are a few pre-requisites to be followed:
Pre-Requisites for OroCommerce Installation:
- Linux distributions (RedHat, Ubuntu, Debian, CentOS) are recommended for the production setup.
- Web Server – Apache 2.2.x or 2.4.x or Nginx latest mainline or stable version.
- PHP 7.X (PHP 5.6 or above)
Note – PHP CLI, the same version as for the web server. - PHP Settings
- date.timezone must be set
- detect_unicode must be disabled
- memory_limit should be 512M or above
Note: If you have xdebug installed (not recommended in the production setup):
1. xdebug.scream must be disabled
2. xdebug.show_exception_trace must be disabled
3. xdebug.max_nesting_level above 100
- PHP Extensions
- Ctype
- Curl
- Fileinfo
- Gd
- Intl (ICU library 4.4 and above)
- Json
- Mbstring
- Mcrypt
- Mysql
- Pcre
- Simplexml
- Tokenizer
- Xml
- Zip
- Database – MySQL 5.1 and above
- Optional recommendations
Node.js could be used for more efficient JS assets minification
Tidy PHP extension should be installed to make sure that HTML is correctly converted into a text representation. OroCommerce uses Composer to manage package dependencies.
- Network Settings – Add a record to your DNS Server to map Oro application hostname (e.g., oro. example .com) with the IP address it runs on.
Note: For local deployment, update the hosts file (e.g., 127.0.0.1 oro. example .com).
Once all the pre-requisites are completed, the user can start with a full-fledged OroCommerce Installation.
Step by Step Installation Guide:
INSTALL AND UPDATE UBUNTU SERVER
After installing UBUNTU, run the following command:
# sudo apt-get update && sudo apt-get dist-upgrade && sudo apt-get autoremove
In the given installation process, LAMP Stack will be configured to meet the requirements.
LAMP = Linux/Apache/MySQL/PHP
INSTALL APACHE WEB SERVER
To Install Apache web server, the following command needs to be given:
#sudo apt install apache2
If Ubuntu firewall is enabled, the single line commands below should allow HTTP traffic on both port 80 and port 443.
#sudo ufw allow ‘Apache Full’
#sudo systemctl start apache2.service
#sudo systemctl enable apache2.service
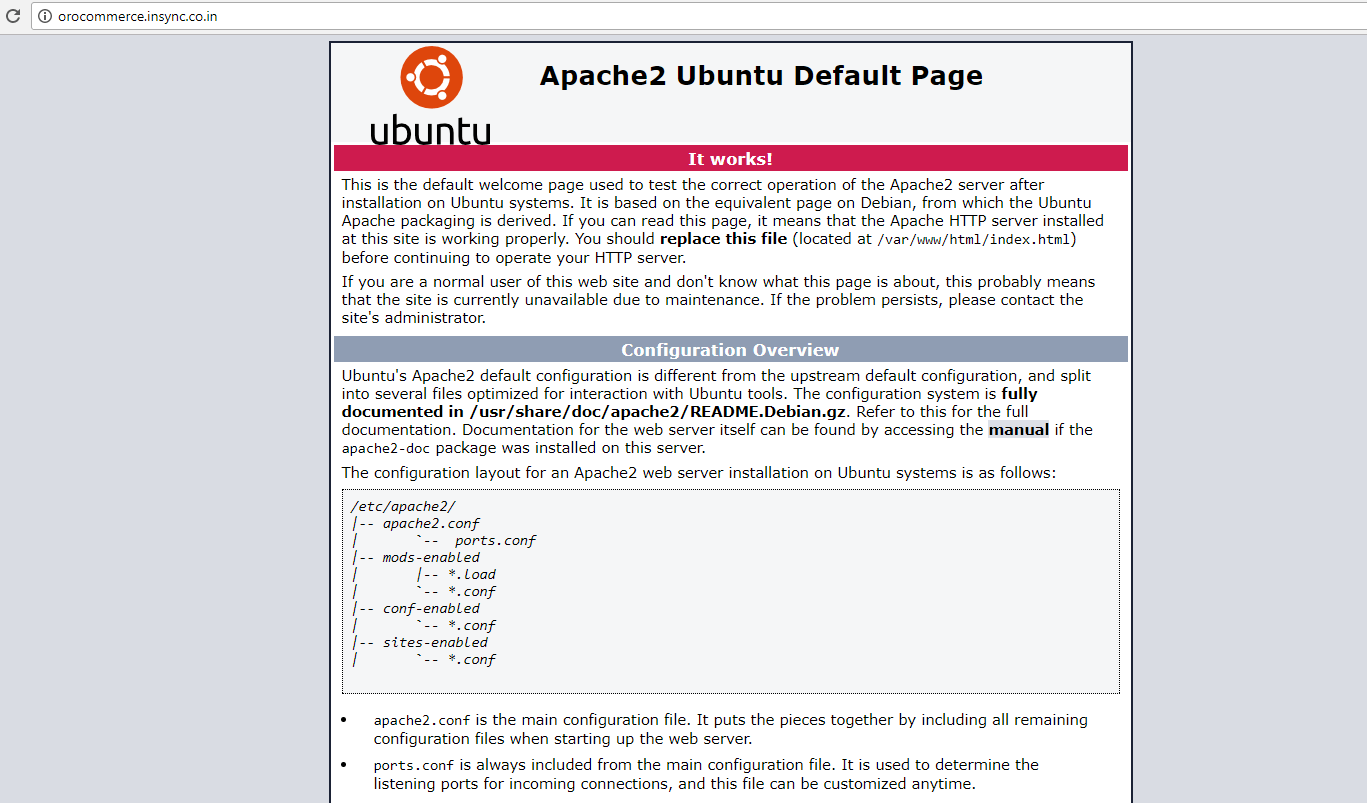
At this point, you should be able to access Apache2 default website page if you browse to the server IP address or hostname. The default page should look like this:
INSTALL MYSQL DATABASE SERVER
The commands below install MySQL database server as well as its client.
#sudo apt-get install mysql-server mysql-client
#sudo systemctl start mysql.service
#sudo systemctl enable mysql.service
Installing PHP
Finally, we must run the commands below to install PHP. The commands below install the PHP extensions and its most basic modules to work with Apache2 and MySQL. There many more modules available which can be installed according to the requirements.
# sudo apt-get install -y php7.1 libapache2-mod-php7.1 php7.1 php7.1-common php7.1-gd php7.1-mysql php7.1-mcrypt php7.1-curl php7.1-intl php7.1-xsl php7.1-mbstring php7.1-zip php7.1-bcmath php7.1-iconv php7.1-soap php7.1-tidy
Composer Installation
Follow the given steps to complete the installation:
- Download the Composer Installer# sudo curl -s https://getcomposer.org/installer | php
- Now we need to make the composer globally available# sudo mv composer.phar /usr/local/bin/composer
Install FXP Composer Asset Plugin
The following command will install the necessary asset plugin required for the composer installation:
- #composer require fxp/composer-asset-plugin
Clone the Git Repository to the current website folder
- git clone https://github.com/orocommerce/orocommerce-application.git
- Start the composer installation with the command below:
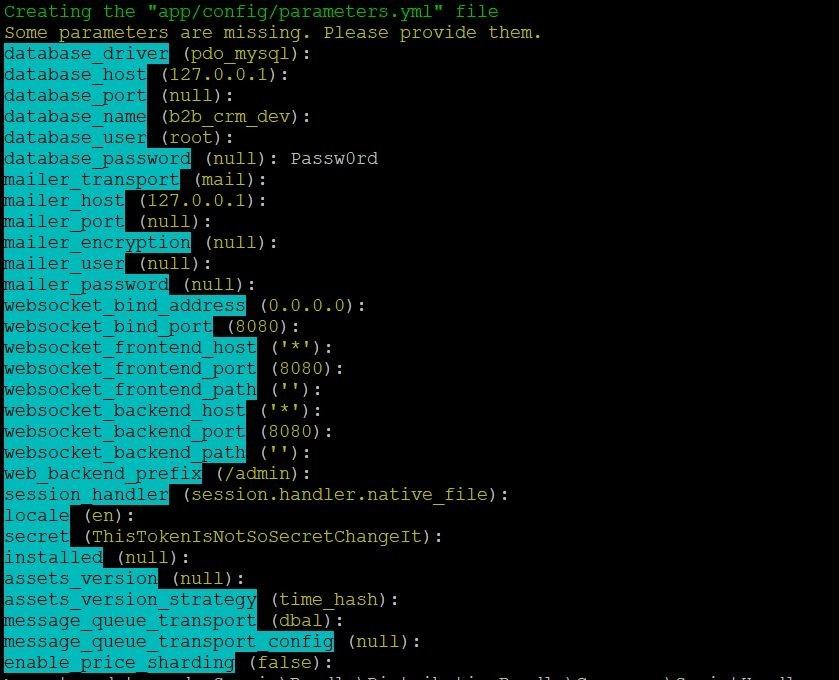
#composer install –prefer-dist.
Composer will then create parameters.yml file and you will be prompted to input the required details.
If all requirements have been met, OroCommerce will proceed with installing the database. Once the installation is complete, you can open the localhost domain on your browser you will find the OroCommerce demo Homepage as shown below:

Now, you can easily integrate your OroCommerce store with other Business Applications to automate the business process!
You may also like:
Top 10 Countries Ruling the Ecommerce Market
How BlockChain will affect Ecommerce Industry in the Upcoming Years
7 Proven Ways to Improve Customer Experience for your Ecommerce Business